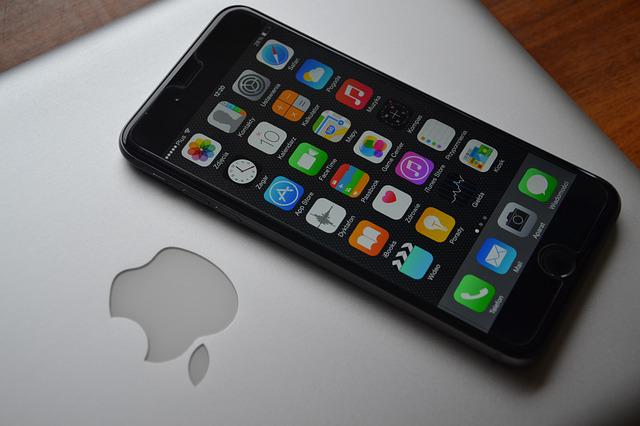
It has never been an easy job to transfer photos or files from one device to another. Nevertheless, after experimenting with various methods to transfer pictures from iPhone to mac, we finally have arrived at the 7 Easy Ways on How To Transfer Photos from iPhone to PC or Mac!
These steps can be done easily by anyone and at no extra cost. Moreover, almost all the steps can be performed within a few minutes. All the methods to import photos from iPhone to the Mac or PC have been mentioned in the upcoming article in the easiest way possible. Kindly go through each step thoroughly so that you don’t make any mistakes.
7 Easy Ways on How To Transfer Photos from iPhone to PC or Mac-
The First 3 methods to transfer photos include transfer from iPhone to PC and not Mac! The latter 4 provide ways to transfer pictures from iPhone to Mac and vice versa!
1. Transfer Photos from iPhone to PC via External Drive-
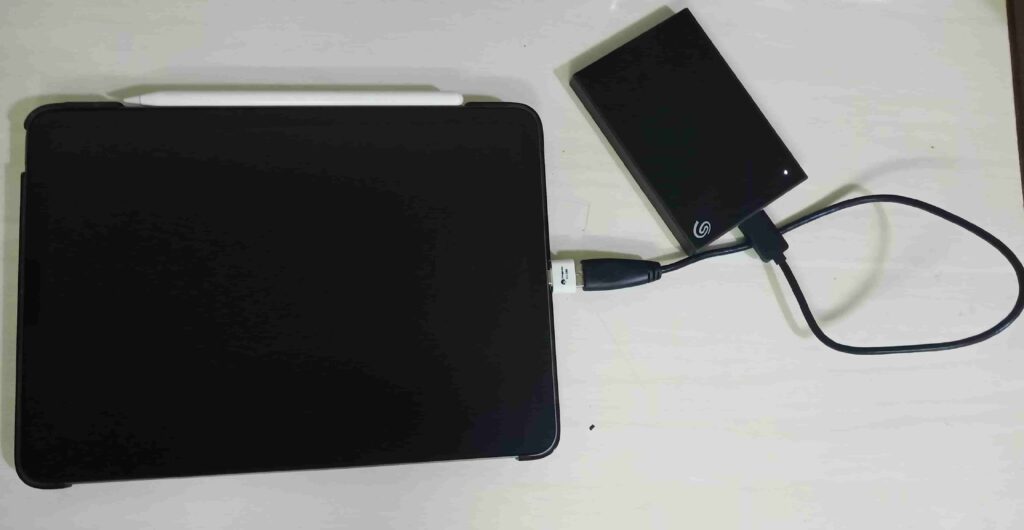
- First of all, check whether your iPhone is compatible with the external hard drive that you have.
- Afterward, connect the external hard drive to your iPhone via and lightning cable or type c cable.
- Once successfully connected the hard drive will appear in your ‘Files’.
- The next step is comparatively easy since here you just have to just copy and paste the concerned photos to your hard drive.
2. Import Photos from iPhone to PC via Cable-
First, connect your iPhone to a PC with a USB cable that can transfer files.
- Turn your phone on and unlock it. Your PC can’t find the device if the device is locked.
- On your PC, select the Start button and then select Photos to open the Photos app.
- Select Import > From a USB device, then follow the instructions. You can pick the items you want to import and select where to save them. Allow a few moments for detection and transfer. (Answer to how to transfer photos from iPhone to PC.)
- For more info visit- Microsoft Help
3. Transfer Photos from iPhone to PC via Cable-
- Ensure that you have connected your iPhone to the PC via a suitable cable such as a lightning USB type c cable.
- Pop up will appear on your iPhone asking you for permission to allow access to the PC. Tap Allow.
- Photos application will automatically launch on your PC, if it doesn’t, kindly launch it through the start menu of your PC.
- On the interface, you will see a large import button at the top right corner of the photos application. Right-click on it.
- In the drop-down select the USB device.
- Later on, select the photos that you want to transfer from iPhone to the PC.
- If you want to change the location where the import will occur, just go into the settings icon which is at the top right corner of the screen.
- Now browse to the location on the PC where you want your photos to be imported.
Related-
7 Top Web Browsers for Mac & Macbooks! Amazing Features!
4. Import Photos from iPhone to Mac via Airdrop-
Out of all the methods to import photos from iPhone to Mac, this is the easiest one. However, airdrop needs the same Wi-Fi network as a prerequisite. Hence make sure that you have connected your iPhone as well as your Mac to the same Wi-Fi network. (Answer to how to transfer photos from iPhone to PC.)
- Go to the photos application on your iPhone and select the photos that you want to transfer to your Mac.
- Moving on, click the share button and select airdrop from the options menu.
- Select your MacBook from the options displayed and hit the sent button.
- Just make sure that you click on the save button (If shown) on your Mac.
5. Transfer Photos from iPhone to Mac in macOS Catalina & Later-
- Connect your iPhone to your Mac via a suitable USB chord.
- Next, open the photos application on your Mac and select your phone from the side menu on the left.
- Select the photos that you want to import and simply hit the import at the top right corner of the screen.
6. Transfer Photos from iPhone to Mac in macOS Mojave-
- First step first, connect your iPhone to your PC/Mac via USB cable.
- Open the photos application on your Mac and search for the files option, mostly at the top of the screen.
- Click the files option and in the drop-down below you will see the import button. Click it.
- Choose the photos that you want to transfer using the command button or mouse and then hit the review photos button.
- If you already have downloaded some or all of the photos Mac will automatically show a button that indicates importing new photos. Click it to import the remaining photos.(Answer to how to transfer photos from iPhone to PC.)
7. Import Photos from iPhone to Mac via iCloud Photos-
This is one of the best methods to import photos from iPhone to Mac but there is one drawback to this method. That is it utilizes a large amount of cloud storage, depleting it within no time.
This could be avoided by selecting the photos manually and then uploading them to iCloud. Moreover, you can check your iCloud account time in and time out so that you don’t run out of storage. (Answer to how to transfer photos from iPhone to PC.)
In your Mac-
- Open the system preferences in the Apple menu and sign in with your Apple ID.
- Next, select the iCloud menu and turn it on.
- Moving further select the photos option and turn it on too.
In your iPhone-
- Open settings in your iPhone.
- Select your account which is displayed at the top.
- Following, choose the iCloud option.
- Then browse to the photos option and turn the iCloud option on.
By following the steps mentioned above on your iPhone as well as on your Mac, you will be able to keep all your photos in a single place and access them on whichever device you want. Whether it is taken on your iPhone or your Mac it will get automatically uploaded to iCloud.
This was a detailed article on 7 Easy Ways How To Transfer Photos from iPhone to PC or Mac. I hope it was helpful to you in solving your problem.
Related-